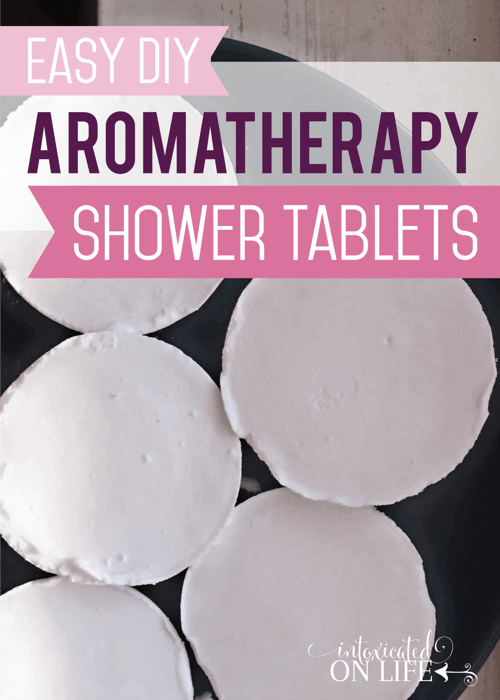
I have recently started making and using these easy DIY aromatherapy shower tablets in our home.
Fall is here and winter is coming! There will be cider and holidays, snuggles by the fire and more. As the weather turns, our outdoor activities become mostly indoor excursions, and you know what that means?
Yep, cold and flu season is here. Queue the tissues, rice socks, herbal teas, and natural remedies!
This time of year, we have several roller bottles and a high quality diffuser working full time in our home, as well as go-to oils for supporting the immune system. Lately, in addition to our Immune Bomb recipe, I’ve been trying some new ways to help us cope when head and chest colds do hit!
When my sinuses are full and the hacky grackies (as my husband calls them) have settled into my throat and lungs, there’s nothing better than a hot shower. The steam loosens things up already, so why not add some essential oils to the mix with some aromatherapy shower tablets!
Aromatherapy Shower Tablets: The Ingredients
Aromatherapy shower tabs are so easy to make. You just need baking soda, water, essential oils, and some kind of mold to form them. The nice thing about them is that you can easily change up the essential oils for your needs. I like to make small tablets and then use one with an Immune Blend and one with Frankincense, but here are more options for the aromatherapy shower tablets:
- For the kids: Lavender and Lemon or Chamomile is a perfect blend, or try them individually
- Breathing Issues: Try Eucalyptus and Frankincense, Rosemary and Lavender, or a sinus blend
- Head and Neck Pain: I love Lavender and Frankincense, and Peppermint is also a good choice
Added to a pretty mason jar they can make a lovely gift as well. Enjoy!
Aromatherapy Shower Tablets: DIY Directions
Easy {DIY} Aromatherapy Shower Tablets
Ingredients
- 3 cups baking soda
- 1 cup water or less, enough to form a thick paste
- 30 drops essential oils any combination (30 drops total)
Instructions
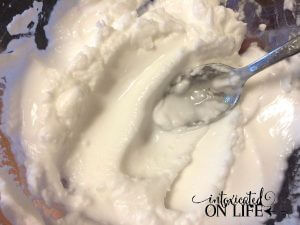
- Add water to baking soda a little at at time (up to 1 cup) until a thick paste forms. Add more baking soda if the mix is too wet. It will dry faster with less water!
- Add up to 30 drops of essential oils and mix well.
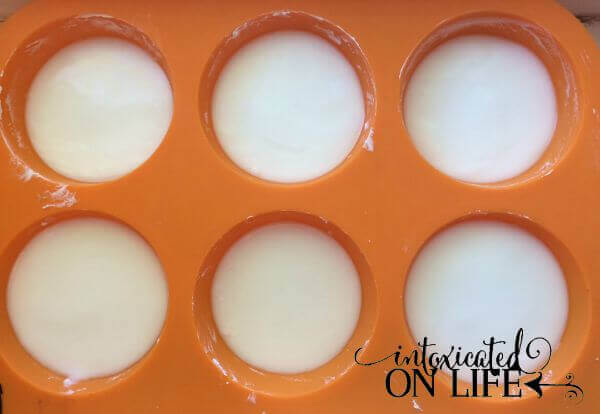
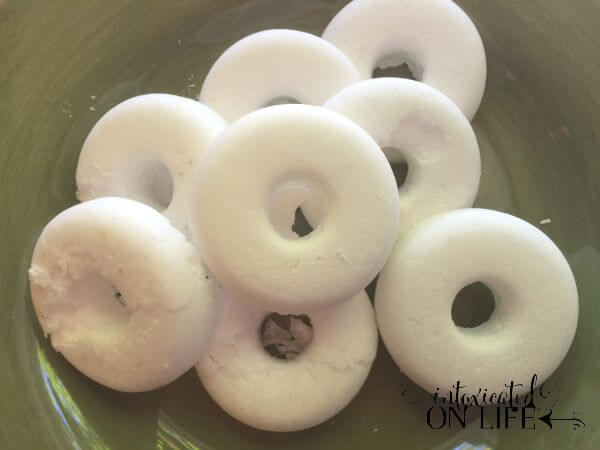
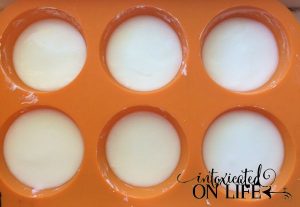
- Spoon the paste into the mold of your choice and level it out. It settles down to a flatter surface on its own. I use silicone mini doughnut pans or muffin pans. Silicone is the easiest to work with but you can also use metal pans with liners, or try coating the forms with coconut oil first. This one would be great to use.
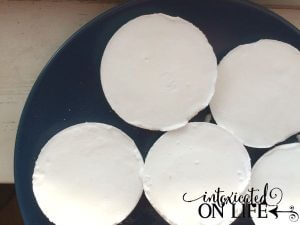
- Let air dry for 2-3 days until fully dry and hard.
- You can also add the essential oils after the tablets dry. In this case, you can dry them out in the oven. Bake the tablets at 350° F for 15-25 minutes, depending on the tablet size. Then add 1-2 drops of oil, per tablet, just before your shower. (This method is good if you want to be able to use whatever kind of oil you feel like on a given day!)
- When tablets are completely dried out, store in a sealed glass or plastic container.
- To use: If the tablets don't already contain oils, add 1-2 drops of the oil you plan to use onto the tablet and then place in your shower. When you're ready for your shower, place 2 of them on the side or toward the back where they will get wet but not be in the direct stream. They will last for one to two showers.
Free Download: Mom’s Essential Oil Cheat Sheet
Would you like a resource to help you learn to use essential oils with your family? Download this free 3-page printable:
- Basic guidelines for using essential oils around kids
- A list of safe, kid-friendly oils essential oils
- Helpful essential oil recipes
Click the link or image below to download the 3-page Mom’s Essential Oil Cheat Sheet. I’ll follow it up with more resources and free printables to help you on your essential oil journey. Grab your copy now!
*FDA disclaimer: “These statements have not been evaluated by the Food and Drug Administration. This product is not intended to diagnose, treat, cure, or prevent disease.”




What an interesting idea, I would have never thought to do this. Thank you for the aromatherapy inspiration.
Hey there! I love this idea for a gift! Question for you: How do you use these? Do you put them in the bottom of your shower while you’re taking a shower? Or place them in the bathroom with you somewhere? What’s the best place to put it? And how many tablets does one batch make? Is one batch sufficient for 1 gift? Or is that too much? Thanks so much for your help!
I just found this Pin. She said in her post to put it in the bottom of the shower/tub but not directly under the water coming from the shower head, this way it will melt slower. If you want aromatherapy but don’t want to put one in the shower…I suggest using a diffuser.
I also had a question about how many a batch makes. I assume 6-12 depending on the mold size. As far as giving as gifts…I would do 6 small or 4 large shower melts.
Love this! I’m going to have to try at home.
This looks easy…thank you for the great idea! Plan on making these with my daughters.
Awesome! Pinned.
Thanks for sharing this with the Let’s Get Real party. It will be my featured post at this week’s party.
I made a batch of these, but maybe I don’t put it in the right spot in the shower…the effect is somewhat negligible. Instead, I’ve tried (after putting the kid-friendly oil on it) holding it under the running water to dissolve into the bath for the little ones. Is there any reason this would be a bad idea? Thanks!
Nope, this should be fine.